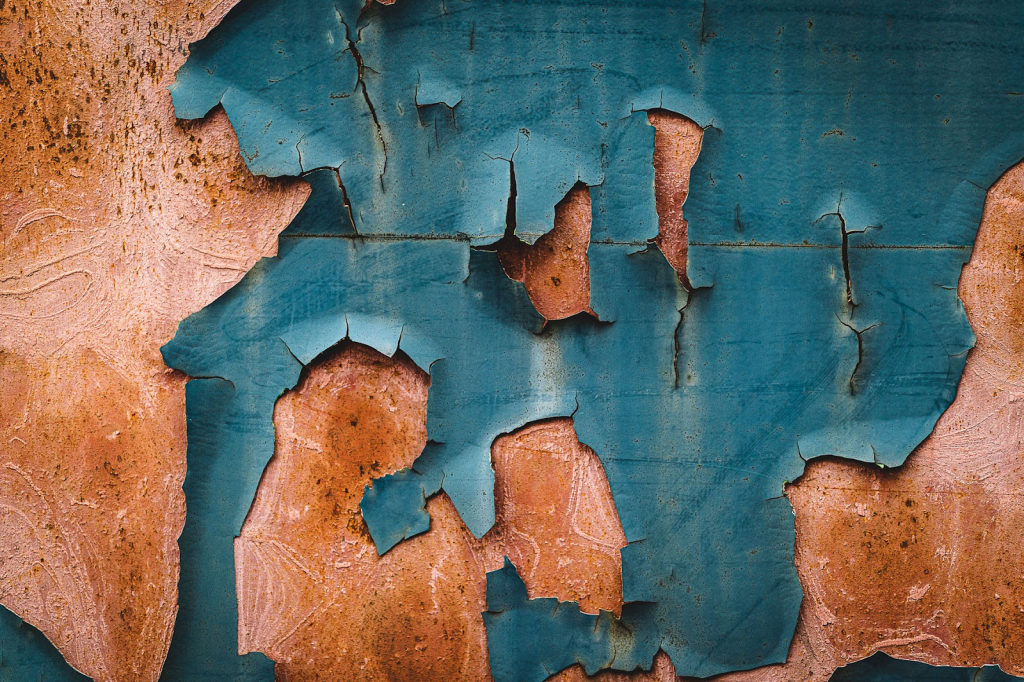
Paint peeling often results from humidity, moisture, and corrosion. This substantially diminishes a building’s aesthetic appeal. It can turn a gorgeous house into a dilapidated structure, or a clean bathroom into a messy space. If peeling occurs on interior walls or ceilings, residents may face health risks. Falling paint chips can injure the eyes, and inhaling paint dust can irritate the lungs. New paint can peel within days or years after submission. This is common on drywall and old gypsum ceilings, but can also affect bathrooms, wooden porches, moldings, railings, and window frames.
What are the Common Reasons Why Paint peel?
Paint damage, like tearing, peeling, or scorching, occurs when paint doesn’t stick properly to the surface. Experts say several factors can cause this adhesion failure. Signs of peeling paint include cracks, fractures, or large sections of paint detaching. There are many reasons why interior paint might start to flake in certain rooms.
Excessive Paint Coats
Poor paint application frequently leads to peeling paint indoors. Many painters apply paint too thickly, a detrimental habit. This excess paint, combined with gravity, speeds up the paint’s deterioration, harming the surface.
Painting on Dirty Surface
Paint struggles to stick to dirty surfaces. Grime, oil, and grease hinder proper adhesion. Applying paint to unclean areas results in cracking.This cracking ultimately causes peeling on walls and other surfaces.
Environmental Factors
High temperatures can reduce a paint’s ability to stick. Too much heat can also cause paint to dry too fast, preventing a strong bond. Oil-based paints tend to crack in direct sunlight. latex paints stretch and compress when exposed to the sun, weakening their grip. High humidity in poorly ventilated areas can lead to moisture buildup in walls, causing paint to crack. This moisture encourages mold and mildew growth over time.
Water Damages
Paint peels when rooms have prior plumbing problems, leaks, or high indoor humidity. Dampness prevents proper paint adhesion. Repeated wetting and drying cycles degrade plasterboard, turning it to powder. Paint struggles to stick to such surfaces.
Unsuitable Paint and Primer
Different paint types are designed for specific materials. You’ll find paints formulated for wood, plastic, metal, and stone. Many primers are also available for these surfaces. Using the wrong primer can cause peeling, as they’re designed to work with particular paint types.
Old Age
regular refinishing is essential for maintaining the beauty of both commercial and residential buildings. Over time, paint’s internal bonds can become stronger than its adhesion to the surface. This leads to paint layers detaching.Therefore, interior painting maintenance is a must for any occupied space. Cracked or peeling paint detracts from the aesthetic appeal of any property. It’s frustrating to invest in a fresh coat of paint, only to be disappointed. Sadly, many businesses and homeowners face this issue.
Improper Method of Application
Using the wrong tools or applying too thin a coat can hinder the paint’s ability to bind properly. Hiring professional painters ensures a quality finish, saving you money in the long run.
Exposure to Corrosive Substances
Harmful chemicals can damage painted surfaces. This causes bubbling, cracking, and peeling. These substances are often strong acids or bases. Avoid using acidic dyes or products on your walls. This prevents paint damage and maintains its integrity.
How to work Around Peeling Paint?
luckily, peeling paint on ceilings and walls is fixable. It involves removing the old layer and reapplying a fresh one correctly.Always take safety precautions and use the right tools.Wear paint-safe clothing while working. Protect your eyes and skin from falling paint chips with protective gear. Use a face mask to avoid inhaling paint particles.
Step 1: Prepare the Space
Before you start painting, check for roof leaks or plumbing problems. These issues can cause paint to peel. Assess your surroundings and the conditions.Next, reposition the drop cloth and put on your safety gear. Wear safety glasses and a mask. Tiny paint particles will likely fly around. Carefully scrape off any loose or peeling paint from the ceilings and walls.Use a paint spatula, scrubbing brush, or putty knife. Prepare the area where you’ll remove paint. If it’s not an interior wall or ceiling, remove furniture and carpets.Protect the floor with a canvas tarp or sheet. Use masking tape to shield window and door edges.
Step 2: Prepare the Surface
Remove old paint using a paint spatula or wire brush. For stubborn layers, use a putty knife. Seal cracks and gaps with a thin, even coat of quick-setting repair solution applied with a clay blade. Let it dry fully, reapply if needed, and allow to dry fully. Sand the area smooth,blending it with the surrounding surface.Use fine-grit sandpaper for a quick cleanup. Check for missed spots or uneven areas with your fingertips.
Step 3: Prime and Smoothen
If dampness caused your paint to peel, protect the newly painted surface. Use primer to strengthen the area. This shields it from moisture and ensures proper paint adhesion. Apply primer and let it dry as directed.
Step 4: Repaint the Area
After the primer dries, you’re set to repaint. Ideally, use leftover paint from your first coat. If you don’t have enough, ask for a small sample at the store. Begin with the repaired spots, brushing outwards using a microfiber or soft brush. Avoid applying too much paint, especially during extensive repairs. less is more!
