Selecting the correct wick is crucial when replacing a candle wick. candle type,size,shape,and wax all influence wick choice. Using the right wick ensures a safe and proper burn for your candle.
After choosing the perfect wick, remove the old one from your candle.Use an apple corer or a similar sharp tool. Carefully extract the old wick and any leftover wax. Secure the new wick wiht a wick tab or adhesive. Now, your candle is ready to shine brightly again with it’s new wick.
gather Materials
before you start replacing a candle wick, make sure you have everything you need. Getting your materials ready will make the job smoother and faster. You’ll need two key things: tools,and a wick with wax.
tools
You’ll need these items to replace a candle wick:
Use an apple corer to extract the old candle wick. Needle-nose pliers help handle the wick and its tab. Trim the wick to your preferred size with scissors. A heat gun or hairdryer melts wax, securing the new wick in place.
Wick and Wax
Replacing a candle wick requires the correct wick and wax. Here’s what you’ll need:
From my previous experience, the wick size should now be perfect for the candle. Wick tabs ensure the wick stays firmly in position. Always use wax that matches the candle type you’re fixing. So, use soy wax for soy candles. A clean, level workspace is also essential. It simplifies the process and avoids mishaps.
Remove Old Wick
Prior to installing a fresh wick, ensure the old one is entirely removed. This section provides a step-by-step guide on how to extract the old wick from your candle in 2025.
Melt Wax
Start by softening the wax surrounding the old wick. This helps you remove it cleanly, preventing candle damage. You can melt the wax in several ways:
Nonetheless of your chosen technique, ensure the wax melts gently and uniformly. This prevents any harm to your candle.
Remove Wick
After melting the wax, take out the old wick. Here are some methods:
Make sure to completely remove the old wick. This includes any wick tabs or leftover pieces.Doing so guarantees the new wick fits well and burns consistently.
Prepare New Wick
Prior to swapping out the old wick, prepping the new one is key. This section details two steps: measuring the wick’s length and coating it in wax.
Measure Wick
Start by measuring your new wick. make sure the wick’s length exceeds the candle’s height.this ensures an even burn, preventing the flame from being smothered by wax. A wick that’s too short won’t light well. Conversely, a wick that’s too long can produce a dangerously large flame.
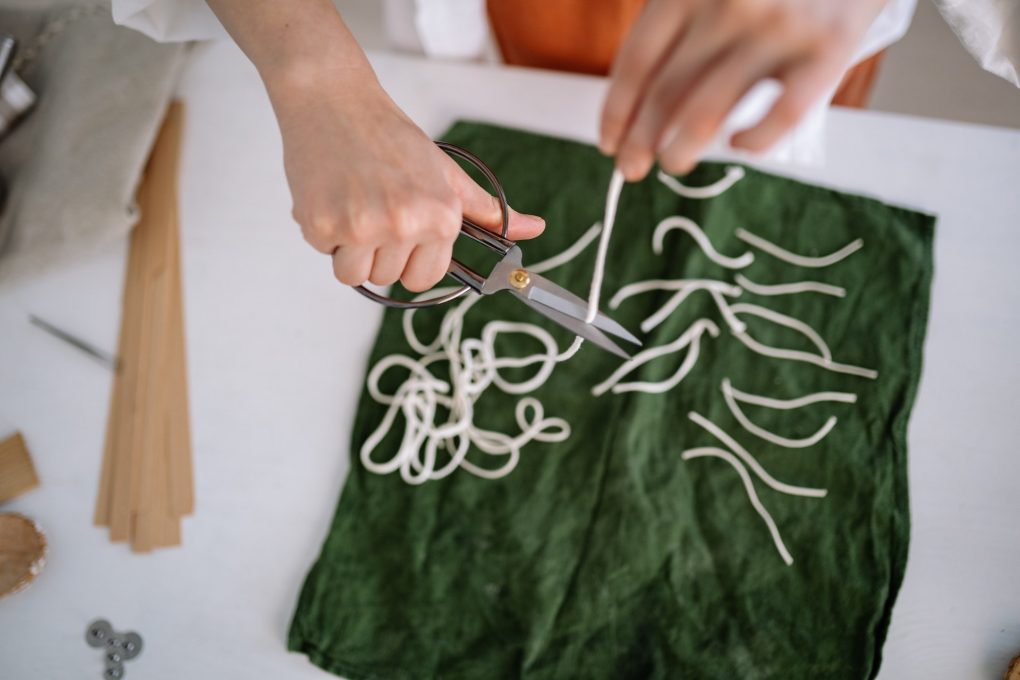
Start by cutting your wick longer than your desired candle height. Stretch the wick straight and compare it to your candle mold. Than, use scissors to cut the wick to the correct size.
Dip in Wax
Once the wick is measured, dip it in wax. This strengthens the wick, keeping it straight and centered in your candle.
Dissolve wax using a double boiler, or a heat-safe container nestled in simmering water. After the wax liquefies, submerge the wick briefly.Lift the saturated wick and suspend it to air dry. A clothespin or clip works well for hanging.
Keep repeating this step a few more times. Ensure the wick is fully coated in wax. This helps it stay upright in the candle. It also stops it from shifting or toppling. Let the wick dry completely. Then, you can put it into the candle.
Insert New Wick
Now that the old wick is gone, it’s time for the new one. This section provides a clear guide on how to correctly insert a fresh wick into your candle.
Thread Wick Through Hole
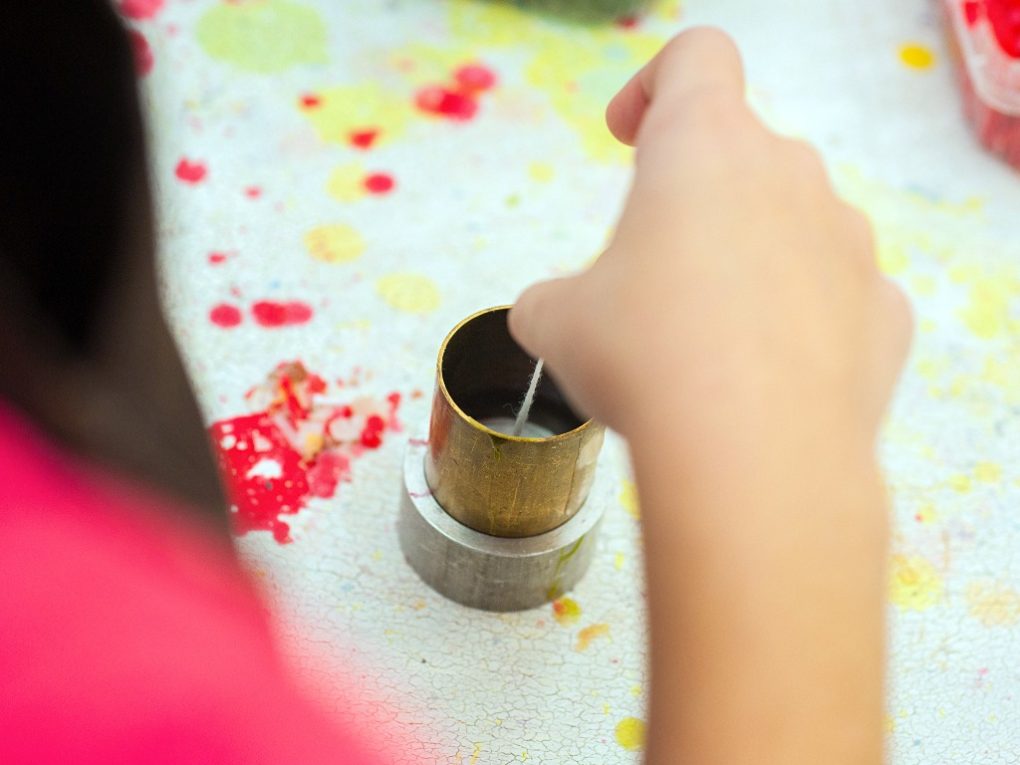
Grab your fresh wick and carefully insert it into the opening of the metal wick tab. Gently draw the wick through, leaving just a tiny bit extending from the tab’s base. If the wick is excessively long, trim it to the desired size.
Now, carefully insert the wick through the pre-made hole in the candle’s middle. A skewer or toothpick can assist in guiding the wick. Make sure the wick remains centered and its metal tab sits securely on the wax surface.
Secure Wick
With the wick positioned, it’s time to secure it to the candle’s base. Here are several effective methods:
Select the most suitable method for your candle type. after firmly attaching the wick tab to the candle’s base, use a centering tool. This ensures the wick remains straight and centered. congratulations! You’ve successfully replaced the wick. Now, you can fully enjoy your revitalized candle.
Trim Wick and Test Burn
Once you’ve replaced the wick, trimming it is key for a clean, even flame.This also minimizes smoke and soot. Follow these steps to trim your candle wick:

Trim Wick
Test Burn Candle
Testing your candle is key. It ensures an even burn, minimizing smoke and soot. Refer to Candle Science for guidance. Here’s how to properly test your candle’s burn:
By following these instructions, you can easily replace your candle’s wick. This ensures a consistent and safe burn. Remember to trim the wick before each use. Test the candle to confirm an even burn, free from smoke or soot.