Melting candle wax on a stovetop is an easy way too reuse old candles or craft new ones.This budget-kind method needs few tools and can be done at home. However, melting candles on the stove can be risky without the right safety measures.
follow these steps for safely melting candle wax on your stovetop:
Preparing to Melt the Candle
Gathering supplies
Before you melt candle wax on your stovetop, ensure you have everything you need. This includes the following items:
Choosing the Right Stove
Melting candle wax on a stove requires careful stove selection. Electric stoves are the safest choice. Danny’s Appliance notes they lack open flames, preventing wax fume ignition.Gas stoves, in my experience, should be avoided due to fire risks.
Selecting the Right Pot
Choose a heat-safe pot, like stainless steel or glass, for melting candle wax. Ensure it’s big enough for your double boiler setup. A small pot risks wax spillage and mess. Dedicate this pot to candle making only, as wax residue is tough to remove.
Melting the Candle on the Stove
Cutting the Candle into pieces
Start by preparing your candle for melting on the stovetop. The initial step involves cutting the candle into manageable pieces. This ensures a smoother and faster melting process. employ a
Placing the Candle in the Pot
Put the candle remnants into a small, stove-safe pot.From past projects, it’s best to dedicate a pot solely to candle making, avoiding food readiness. This stops wax residue from mixing with your meals. Fill the pot no more than halfway with the candle pieces.
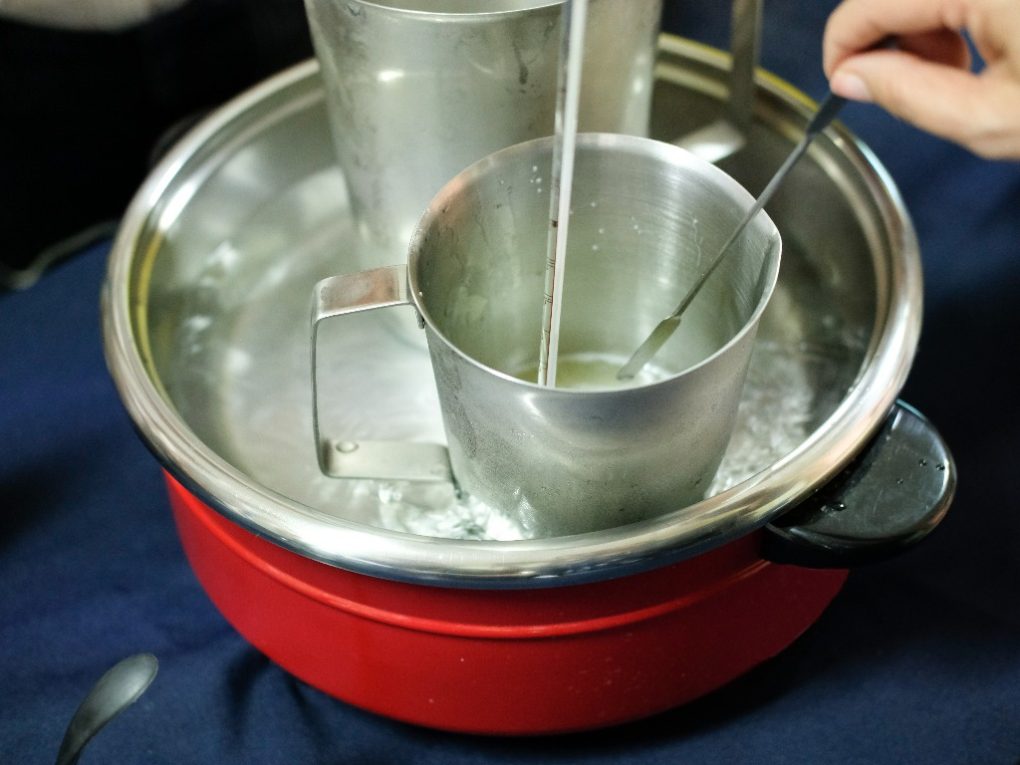
Melting the Candle on Low Heat
After placing the candle pieces in the pot, put the pot on the stove and set the heat to low. Melting the candle on low heat is crucial. This prevents the wax from burning or boiling. Watch the pot closely and stir the wax now and then. This ensures even melting. Once the wax is fully melted,take the pot off the stove. Let it cool for a few minutes before pouring it into a mold or container.
Melting candles on the stove requires caution. Always supervise the pot while heating.Use oven mitts or a towel to handle the hot pot safely. Clean the pot thoroughly afterward to prevent wax buildup and drain clogs.
pouring the Melted Wax
Preparing the Candle Mold
Before adding the melted wax, ensure your candle mold is ready. Select a heat-safe container that fits the volume of melted wax. A pouring spout on the container will simplify the wax transfer.
Thoroughly clean and completely dry your container. if reusing,eliminate any remaining wax. To stop wax adhesion,apply non-stick cooking spray or a tiny amount of vegetable oil inside.
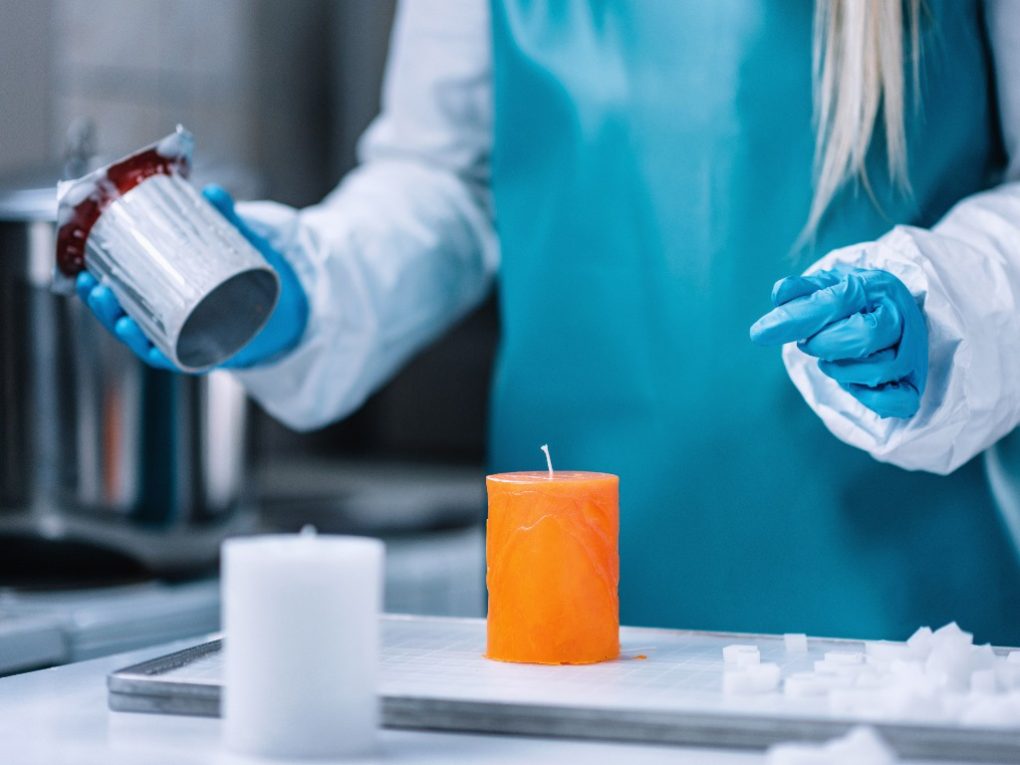
Pouring the Melted Wax into the Mold
With your candle mold ready, it’s time to pour the melted wax. Gently pour the wax into the mold, being careful not to spill.A funnel can definitely help with larger molds. Fill to your desired level, leaving space for the wick. For layered candles, let each layer cool before adding the next.

Allowing the Wax to cool
After pouring the melted wax, let it cool fully. This may take hours, depending on candle size and room temperature. Speed cooling by placing it in the fridge or freezer. But, don’t leave it too long, or the wax might crack. Once cooled and solid, trim the wick.Your candle is now ready!
finishing Touches
Trimming the Wick
Once your candle has cooled, the last touch is wick trimming. This step is key for a gorgeous and safe candle. Use a wick trimmer or scissors to cut the wick down to about 0.25 inches above the wax. This keeps the flame manageable, reduces smoke, and ensures an even burn.
removing the Candle from the Mold
Carefully unmold your candle after crafting it. Ensure it’s fully cooled before removal. Gently separate the mold’s sides from the candle. Then, invert the mold and lightly tap its base to release the candle. If it remains stuck, briefly freeze the mold to aid release.
cleaning Up
After trimming your candle and taking it out of the mold, remove any extra wax. Use a paper towel or cloth to clean the candle’s surface, sides, and the jar or mold’s bottom.
For persistent wax remnants, gently warm them with a hairdryer on a low setting. This will soften the wax for easy removal. Conclude by attaching a safety sticker to the candle’s base. Include crucial warnings like “Never leave burning candles unattended” and “Keep out of reach of kids and animals.”