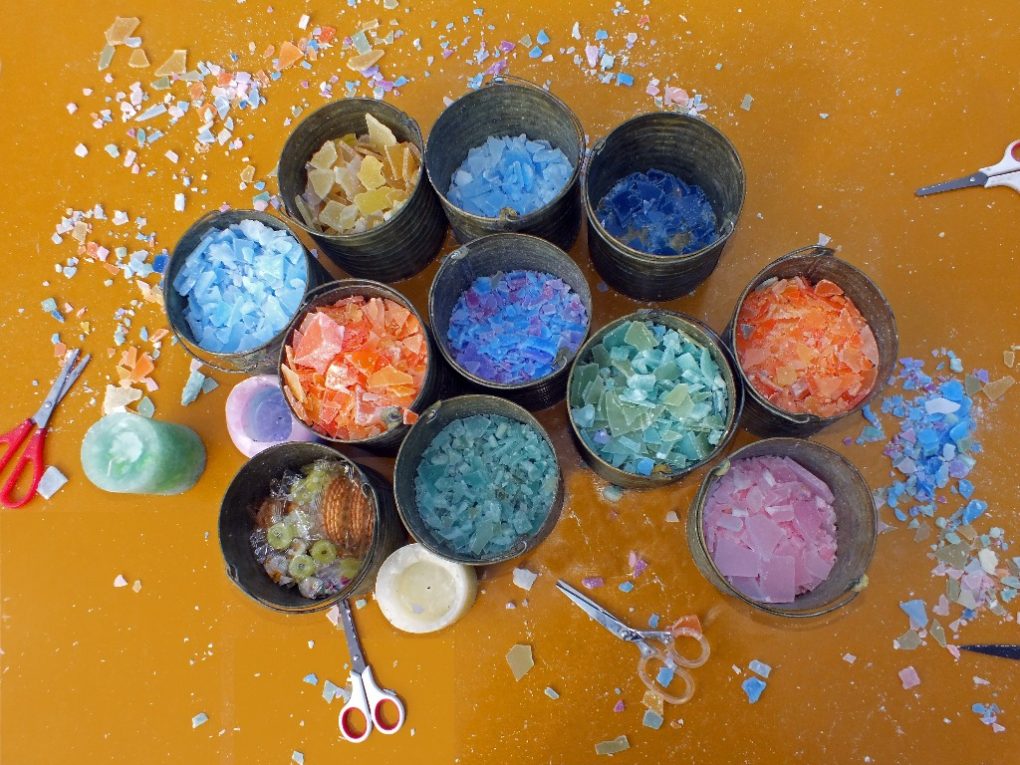
Various techniques exist for coloring candle wax. These include liquid dyes,powdered pigments,dye blocks,dye chips,and dye flakes. Each option offers unique benefits and drawbacks. Your selection should align with your preferences and the desired final result. Remember,compatibility is key: not every dye works well with every wax type.
Dyeing candle wax appears simple, but mastering it requires some essential knowledge. Use the correct dye quantity. Stir the wax well for uniform color. always test the wax color before pouring. With practice, anyone can dye candle wax and craft stunning, vibrant candles.
Choosing the Right Wax
Selecting the correct wax is key to triumphant candle creation. The market offers various wax types, each possessing distinct characteristics. This section explores suitable wax options and essential selection factors.
Paraffin Wax: Paraffin wax is a by-product of petroleum. It is the most commonly used wax for candle-making. It is affordable, easy to use, and readily available. Paraffin wax also has a high scent throw, making it ideal for scented candles.
Soy Wax: soy wax is a natural wax made from soybean oil. It is eco-kind, renewable, and biodegradable. Soy wax burns cleaner and longer than paraffin wax. It also has a lower melting point, making it easier to work with.
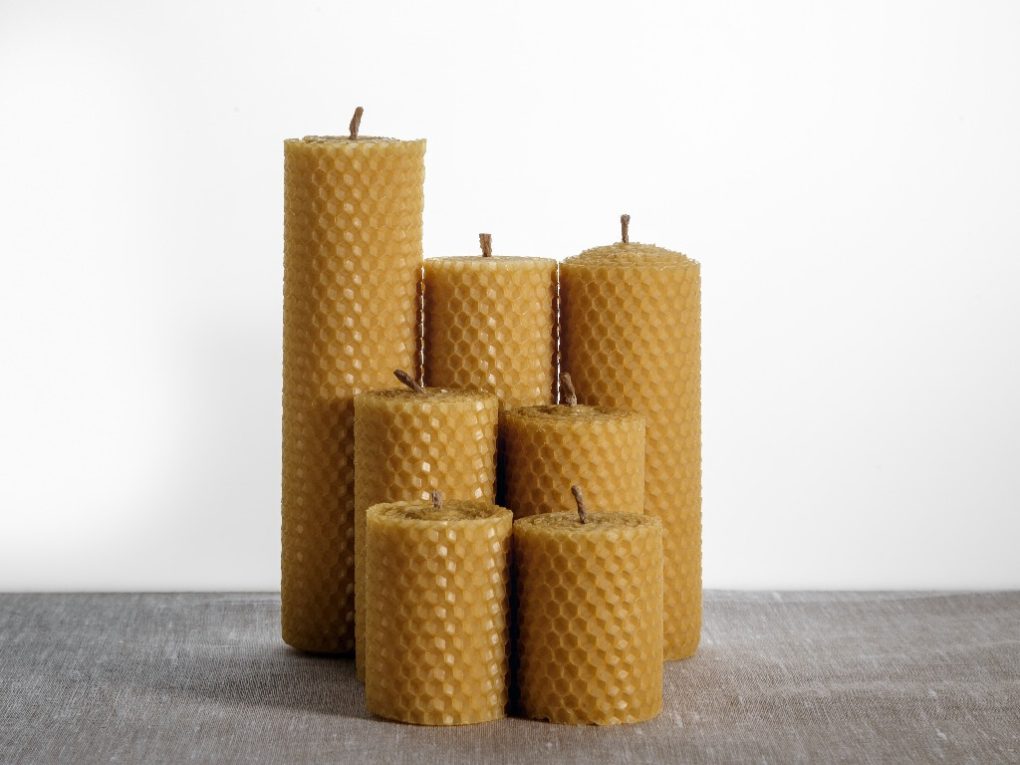
Beeswax: Beeswax is a natural wax produced by bees, according to Science Direct. It has a sweet, honey-like scent and a natural golden color. Beeswax burns longer and cleaner than paraffin wax. it is indeed also hypoallergenic and has air-purifying properties.
Wax Color and Clarity
The wax’s hue and clarity influence the candle’s finished look. Consider these elements when picking your wax:
Color: If you want to create colored candles, it is best to use white or natural-colored wax. This will allow the color to show through more clearly. However,if you want to create a specific color,you can use colored wax or add dye to the wax.
Transparency: If you want to create translucent or obvious candles, using wax with a low melting point, such as soy wax or beeswax, is best. These waxes have a natural clarity that will allow the light to shine through the candle.
Opacity: If you want to create opaque candles, it is best to use wax with a high melting point, such as paraffin wax.These waxes have a higher opacity, making the candle less translucent and more opaque.
Selecting the right candle wax dye involves choosing between liquid and chip forms. Liquid dyes offer ease of use and diverse colors,though they might be pricier. Dye chips are budget-friendly with extensive color options, but require more effort to incorporate.
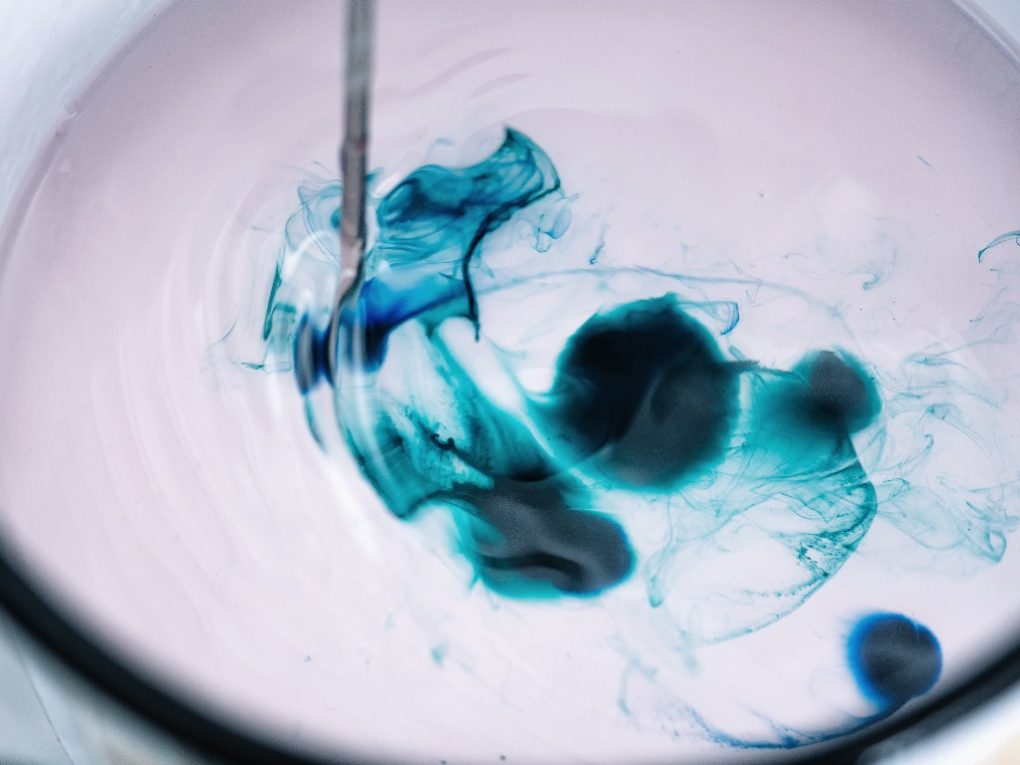
Mixing Dye with Wax
Blending dye and wax requires precision. Here’s how to achieve optimal results:
start with a small amount of dye,and gradually add until you achieve the desired color.
Ensure the dye is entirely mixed into the wax before pouring it into your candle containers.
Stir the mixture gently to avoid creating air bubbles.
Check the temperature of the wax before adding the dye. Different dyes have different temperature requirements, so follow the instructions carefully.
When using liquid dye, incorporate it into the wax between 150°F and 170°F. For dye chips, add them after removing the heat source. Then,stir thoroughly for several minutes to ensure even color distribution. The dye quantity depends on your wax type and preferred color depth. Begin with a small amount, gradually adding more to reach your ideal shade.
You can color candle wax using various techniques:
Powdered or Liquid Candle Dye: This is the most commonly used method for adding color to candle wax. A small amount of dye is added to the melted wax and stirred until the desired color is achieved.
Dye Chips: These are small, colored pellets that are added to the melted wax. They can be melted in a double boiler and stirred until fully combined.
Crayons: This method is not recommended, as crayons can clog the wick and cause the candle to burn improperly. Though, if you choose to use crayons, they can be melted with the wax in a double boiler and stirred until fully combined.
Achieving Desired Color
Remember that candle wax color lightens as it hardens after you add dye. For the color you want,use a bit more dye than you think you need.
Stirring the wax well is key. This makes sure the dye spreads evenly. If you’re using liquid dye, add it when the wax is cooler, around 150°F to 170°F. This works best.
To accurately assess wax color, allow a small sample to harden and cool entirely. If the color is to pale, incorporate additional dye, stirring until it’s fully mixed.
Prioritizing safety is key when handling candle wax to prevent injuries or mishaps. here are essential tips for a secure and pleasant candle-making process:
Always work in a well-ventilated area to avoid inhaling fumes from the melting wax.
Wear protective clothing, such as gloves and an apron, to prevent burns from hot wax.
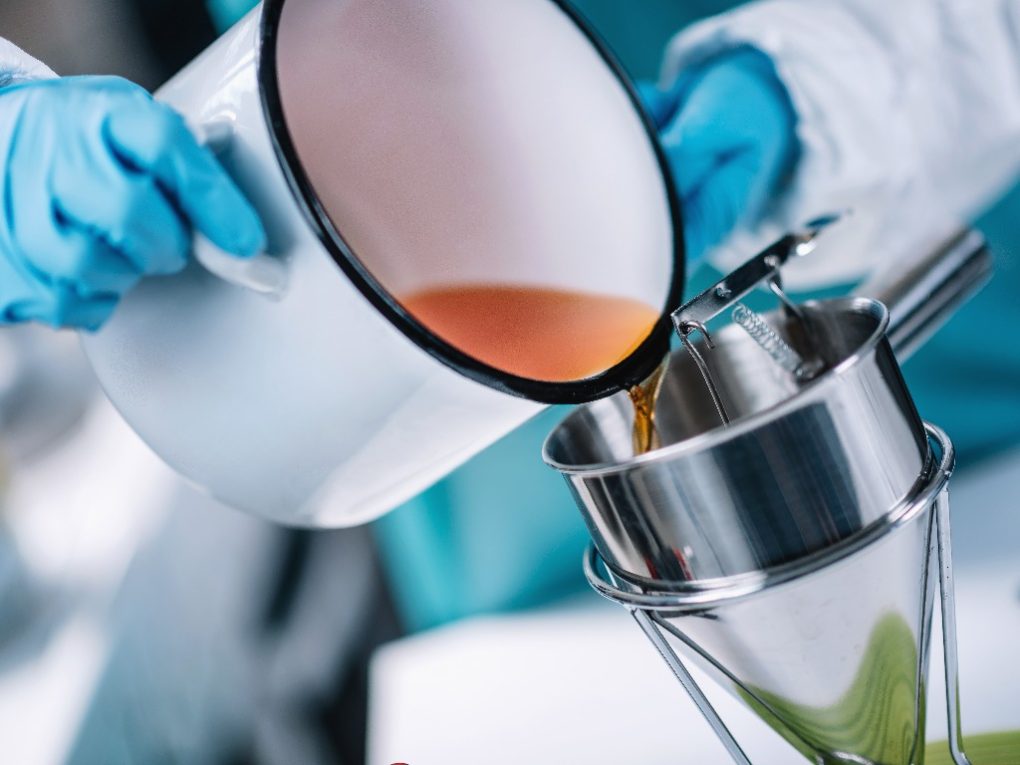
Use a double boiler or a melting pot for candle-making to melt the wax. Do not use a microwave or stovetop to melt the wax.
Never leave melting wax unattended, as it can easily catch fire.
Keep a fire extinguisher nearby in case of emergencies.
Use a thermometer to monitor the temperature of the wax and avoid overheating it,wich can cause it to ignite.
When adding dye to the wax, use the recommended amount and stir gently to avoid splashing hot wax.
Do not pour hot wax down the drain; it can clog pipes. Instead, let it cool and dispose of it in the trash.
Store unused wax and dye in a cool, dry place away from direct sunlight and heat sources.
Adhering to these safety guidelines ensures you can craft stunning, vibrant candles while minimizing the chance of harm or mishaps.
Coloring candle wax can be challenging.Even seasoned candle artisans encounter difficulties. Here are frequent problems that arise when dyeing wax:
The color is not as expected
The color is uneven.
The dye is not mixing properly.
The dye is clumping or settling at the bottom of the candle.
Solutions to Common Problems
Facing these issues? Don’t stress! Solutions exist for each challenge.
The color is different than expected: If the color of your candle is different from what you were expecting, try adding more dye. remember that the wax’s color will be lighter when it is indeed melted, so the final color might potentially be different from what you see in the melting pot. Additionally, some dyes may look different in different types of wax, so you may need to experiment with different dyes to achieve the desired color.
The color is uneven: Uneven coloring can occur if the dye is not mixed thoroughly into the wax. To prevent this, stir the wax and dye mixture thoroughly and regularly while it melts. If you notice uneven coloring after pouring the wax into the mold, try gently swirling the mold to distribute the dye more evenly.
The dye is not mixing properly: If it is not mixing properly into the wax, it may be because it is too cool. Try heating the wax and dye mixture to a slightly higher temperature and stirring vigorously. If this doesn’t work,try a different type of dye or wax.
the dye is clumping or settling at the bottom of the candle: Clumping or settling can occur if too much dye is added or the dye is not mixed properly.To prevent this, start with a small amount of dye and add more as needed. ensure to stir the wax and dye mixture thoroughly and regularly while it melts. If you still have issues,try a different type of dye or wax.
Dyeing candle wax requires practice. Don’t worry about initial problems. Keep experimenting to find the best method for you.