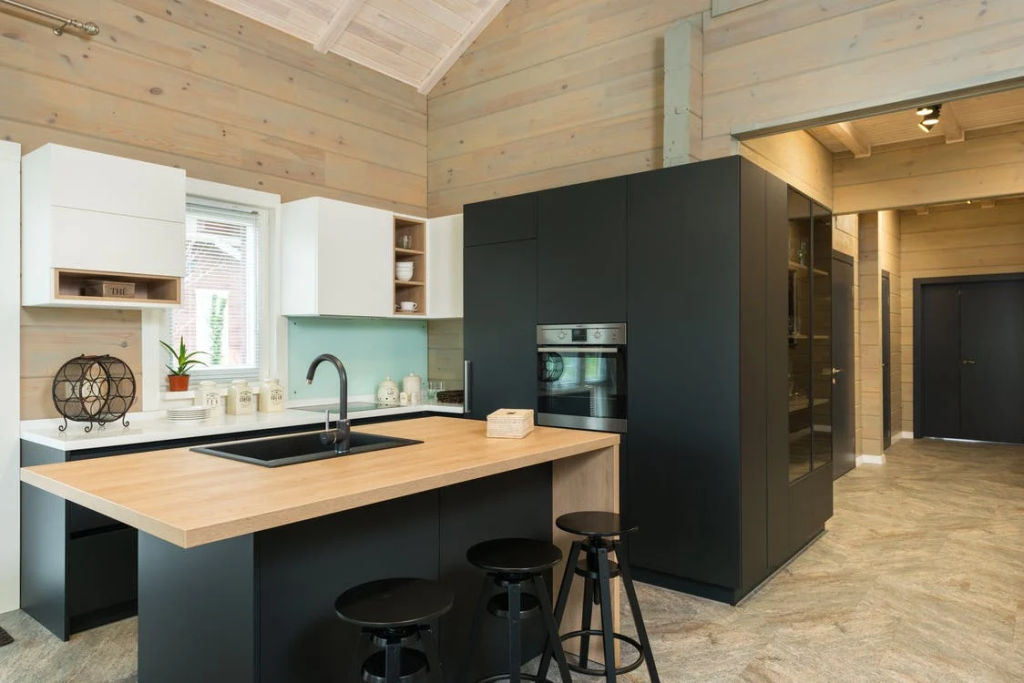
Painting cabinets is simpler then you might believe. Many homeowners now choose to tackle this painting project themselves. This approach saves both money and time. Hiring a professional is always an option, but painting cabinets yourself isn’t complex. Just follow a straightforward guide for easier completion. Plus, DIY projects like this can be very enjoyable. We’ve compiled helpful tips to streamline your cabinet painting process,saving you internet search time.
Know the Type of Paint to Use
Latex paints have substantially advanced, leading many professionals to favor them over oil-based options. Beginners find latex paints easier to use as they dry quickly and clean up with water. Though, some professionals still prefer oil-based topcoats. They believe oil-based paints create a more durable,longer-lasting finish. Oil-based paints also tend to level better, resulting in a smoother final coat. Latex paints take longer to fully cure than oil-based paints. During this time, they are susceptible to damage. Both oil and latex can provide excellent finishes. If you choose latex, opt for a 100% acrylic formula. acrylic latex paints offer superior durability and adhesion compared to vinyl acrylic paints.
Label the Cabinet Doors
before you start painting your cabinets, create a few swift sketches. Include all cabinet doors in your drawings. Label each cabinet door and drawer with a number or letter. This will help you keep track of everything. After removing the drawers and doors,mark each one with its corresponding label. Write the label under the hinge area, where it won’t be visible. use tape to secure the labels. This will protect them during the painting process.
sand the Surface
When you begin your kitchen cabinet painting project, sanding is key. It helps the new paint adhere better and creates a smoother finish. You don’t need to sand bare wood to smooth it. If your cabinets have a factory finish, lightly sand them with 120-grit sandpaper or a sanding sponge. This removes any minor flaws. For uneven surfaces from previous paint jobs, start with 100-grit paper to remove bumps. Then, refine with 120-grit paper to eliminate any remaining sanding marks.
Identify the Preferred finish
If you’re open to experimenting, faux finishes can transform your kitchen’s style. They can shift it from mid-century modern to antique, medieval, or contemporary. crackle varnish, easily found at paint stores, offers an effortless way to give cabinets an aged look.
Once the undercoat is dry, immediately apply the glazing. Use single strokes, applying heavily for wide gaps and thinly for small cracks. Let it fully dry before moving on. apply a smooth topcoat of the base color with a paintbrush, stroking across the glaze’s direction. As it dries,the paint will fracture,usually within an hour.
Rustic aesthetics, like shabby chic, don’t require special paints. This finish uses layered colors and smudged dark paint.After the paint dries, distress the surface. Use a chain to lightly strike it, then gently sand areas of frequent use. This reveals the colors underneath,creating a worn look.
Invest in a Primer that Dries Quickly
Start with a fast-drying primer for your base layer.Always read the label. It will tell you how many coats to apply. Make sure the primer works with your chosen paint.
Use an enamel underbody primer for superior paint protection. Water-based paints have significantly improved. High-quality acrylic alkyd blends now rival oil-based paints in performance. Though, many professionals still prefer oil-based paints, especially for priming.
Oil-based paints offer a smooth, workable application with a slow, even cure. This extended working time minimizes brushstrokes and imperfections. Once dry, oil-based primers sand easily, creating a perfect foundation for your topcoat.
Fill the Creases
Certain wood types feature grains with numerous large pores.Oak is a prime example. These pores remain visible even after coating, especially under paint. For a rustic aesthetic,leave the grain exposed. however, for a smooth, grain-free finish, fill these gaps before painting.
You have a few choices here. For deep imperfections, apply several coats of a high-build primer. Sand between each coat until the surface is smooth. Another option is to use spackling compound to fill the uneven areas. Spackling can be tricky on cabinets with curves and intricate molding. After the filler dries completely, sand the area and prep it for painting as usual.
Spray Paint for Beginners
Achieve a professional, factory-like door finish by spraying. With some skill and a quality sprayer, it’s easily attainable. For optimal results, use a high-quality airless sprayer with unthinned coatings. HVLP sprayers also work well with proper technique and sufficient material. Always thin the paint according to the manufacturer’s instructions. Apply multiple thin coats rather of one thick coat for a smoother finish.
