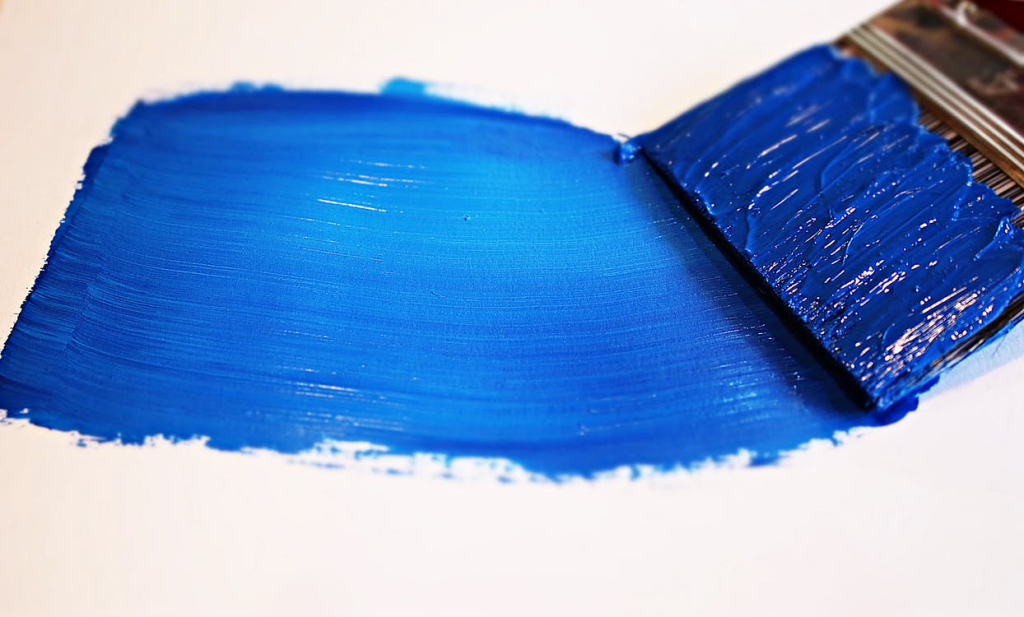
Absolutely! You can definitely paint over lacquer. But, proper readiness is key. There are several ways to do it. We prefer using an oil-based primer to prepare the lacquered wood for new paint. Many furniture painting experts dislike sanding the most. Why? It’s messy and time-consuming. It’s also a repetitive task. Since we started refinishing furniture, sandpaper made us cringe. We dreaded it. So,it’s no surprise that we often get asked: “Can you paint without sanding?” and “How do you do it?”.
How to Paint Without Sanding?
Glossy painted surfaces can look amazing, especially if the color complements the overall design. To maintain their pristine appearance, you’ll need to repaint them eventually. While fresh paint doesn’t adhere well to glossy surfaces, you don’t have to wholly remove or sand the old paint. you can achieve excellent results by learning how to paint over gloss paint without sanding. We’ve compiled a step-by-step guide to help you accomplish this.
Step 1: Prepare the Workspace
start your painting project fresh by clearing the area. Remove any wall art before painting. Move furniture like chairs and tables to create more room.
The job’s scope might require some physical effort. Removing obstacles will help you create a safe workspace. Use drop cloths or tarps to shield floors and items you don’t want to move.
Painting inevitably leads to spills. Protective coverings prevent paint splatters and drips on surfaces. Ensure you have good ventilation in your workspace.
Step 2: Wear Protective Equipment
Painting involves materials that may contain harmful compounds or release toxins. Awareness is key. Always wear a protective face mask when handling these chemicals. Some can be risky to inhale. Mask use is especially important during de-glossing, priming, and painting.
Avoid skin contact with toxins at all costs.Protect your hands by wearing protective gloves. When using a de-glosser, always wear safety goggles. This is because the substance can produce fumes that may harm your eyes.
Step 3: Cover the Areas Not to be Painted
Use painter’s tape to shield power outlets and prevent paint from getting where it shouldn’t. When not painting walls, protect elements like ceiling and skirting panels. Apply tape along baseboards and ceiling lines. This safeguards them from paint and helps create clean, professional-looking edges.
Step 4: Apply De-Glosser
De-glosser prepares surfaces like sandpaper would. Applying paint directly to glossy surfaces frequently enough causes peeling soon after. Ensure the paint has a good grip. Apply de-glosser with a dry, lint-free cloth to eliminate shine. Multiple applications might be needed for optimal results.
Spray paint application should occur within a week after applying liquid de-glosser. Depending on the de-glosser used and activity around the glossy area, waiting 10-14 days might be necessary. Though,prime the surface as soon as ten minutes have passed. Delaying painting for several days can re-dirty the area, reducing the paint job’s overall quality.
Step 5: Prime the Surface
When painting high-gloss surfaces with oil-based paints,ensure your primer is also oil-based. For water-based paints, use a water-based primer.Matching the base of your new paint to the existing coat is crucial for proper adhesion and a lasting finish.
Primer is essential.It helps paint stick to surfaces better. We suggest using a roller to apply primer. For cracks, use a high-quality brush to get primer into them. Save the roller for smooth areas.
For optimal bonding, start at the top.Apply a thin, even layer moving downwards. Let each coat dry fully before adding the next. typically, two coats of primer are enough.
usually, the manufacturer specifies the waiting time between paint layers. For most primers, allow about one hour of curing time between coats.
Step 6: Apply the Paint
Now that the primer is fully dry,it’s time to paint. Apply the paint just like you did the primer, using a roller or brush. Alternatively, spray paint from top to bottom, starting at the edge and working down the wall.
Apply thin, even coats of paint. Allow each coat to fully dry before the next application. Check the product details for the recommended drying time between coats.
Always inspect the painted area. Gently touch it with your fingers to confirm it’s fully dry before moving on. It must be very dry before applying the next coat. Depending on the brightness and richness you want, you might need two or more coats of paint.
