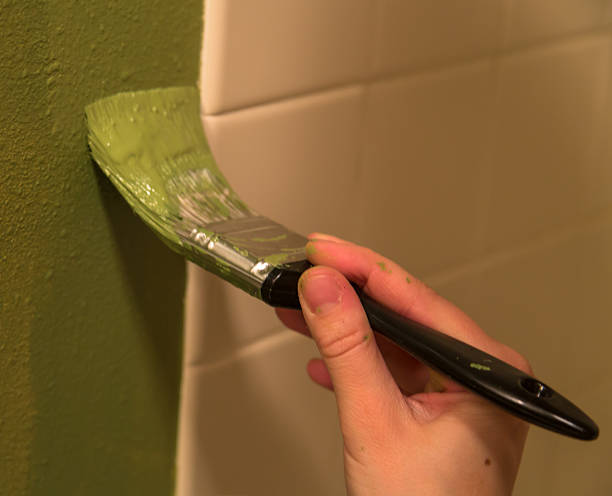
Yes, painting tiles is possible. However, it depends on the tile’s location and surroundings. Paint can wear quickly in high-traffic, moist areas.Expect a shorter lifespan in such conditions. Ceramic tiles are best suited for painting. Even with compatible tiles, prepping is crucial. To help you transform your tiles, we’ve outlined the necessary steps.
Step 1: Surface Readiness
The first step involves thorough cleaning.We recommend using TSP, a powerful trisodium phosphate cleaner, often in powder form. Mix it with water to activate its cleaning power. TSP effectively removes soot, grease, and oils, leaving tiles spotless.Due to its potential harm,use heavy-duty gloves,pants,shoes,and long sleeves. A mask and good ventilation are also essential due to its strong odor.
Use a ½:1 ratio for the cleaning liquid – half a cup of TSP powder per gallon of water. A more concentrated mixture will be stronger. Scrub the surface evenly and continuously. Soaking the tiles for 5-10 minutes beforehand is beneficial. Scrub in a circular motion to cover all areas.Rinse with warm water to remove the mixture. Wipe the surface with a dry rag to eliminate excess moisture. Allow for natural ventilation or use a fan to ensure complete drying.
Step 2: Tile Sanding
Sanding is a crucial step. We recommend using fine-grit sandpaper. This helps remove the tile’s glossy finish, wich can prevent paint adhesion. Ensure a rough, gloss-free surface for painting. After sanding, use a damp cloth to remove dust. This is vital before priming the tiles.
Painting over dusty tiles wastes primer and paint.Wipe the tiles repeatedly with a damp cloth to remove all dust. use a brush to reach into the tile’s core for thorough dust removal.Avoid aggressive sanding that creates unevenness. Focus on removing the glossy coating.
Step 3: Primer Application
This step significantly impacts the final look. Its often overlooked, leading to premature paint failure. We strongly advise using a high-adhesion primer.This helps manage the tile’s texture and conceal any unwanted discoloration.
High-adhesion primers create a surface that promotes even paint application due to their chemical composition. This prevents paint from wearing off quickly. While it adds to the cost, it’s a worthwhile investment. Choose the primer type and brand carefully.
Using a roller, rather of a brush, ensures even product distribution and prevents uneven coverage or buildup. The difference will be noticeable after painting. Allow the tiles to dry fully before applying paint.
Step 4: Tile Painting
After the primed tiles are completely dry, remove any remaining dust with a brush. Painting is the most rewarding part, as the prep work is done. For tiles,we recommend acrylic latex,latex,or enamel paint. Thes tend to last longer on properly prepped tiles.
The surface is now textured but still even. Depending on your desired paint opacity, two to three coats should provide even coverage. Remember that painting tiles differs from painting walls. Apply enough coats to ensure a comfortable walking surface.
If you’re using a pattern, secure the stencil to the tiles. This prevents paint from straying. Since the tiles are textured, additional adhesive may be needed to keep the stencil in place. Allow the painted surface to dry completely before removing the stencils.
Step 5: Top Coat Finishing
Not everyone uses topcoats,but they help achieve your desired appearance in terms of structure,color,and gloss. Given that we’re painting an unusual surface, a topcoat provides a crucial protective layer. This extends the paint’s lifespan. Topcoats are typically rolled or sprayed on as a transparent or clear coating. Matte options are also available for those who prefer a less glossy finish.
