You’ve decided to paint yoru bathtub yourself! Now, prioritize safety. We strongly advise wearing protective gear, like a face mask, to avoid breathing in paint fumes and potential respiratory issues. Next, choose your materials. Bathtub painting kits are available, so find one that fits your budget and matches your bathtub’s material.select your preferred applicator. Painting a bathtub is like painting any surface. Choose a roller, spray gun, or paintbrush. Once you’re prepared, follow these steps for a smooth DIY bathtub painting experience.
Step 1: Clean the Tub
As wiht any painting endeavor, we strongly advise cleaning surfaces before moving forward. This ensures better paint adhesion by eliminating dust and grime. Soap and water are sufficient for removing stains and loose particles. Use a caulk removal tool or knife to detach existing caulk around the bathtub edges. Start with a clean, debris-free surface for optimal results.
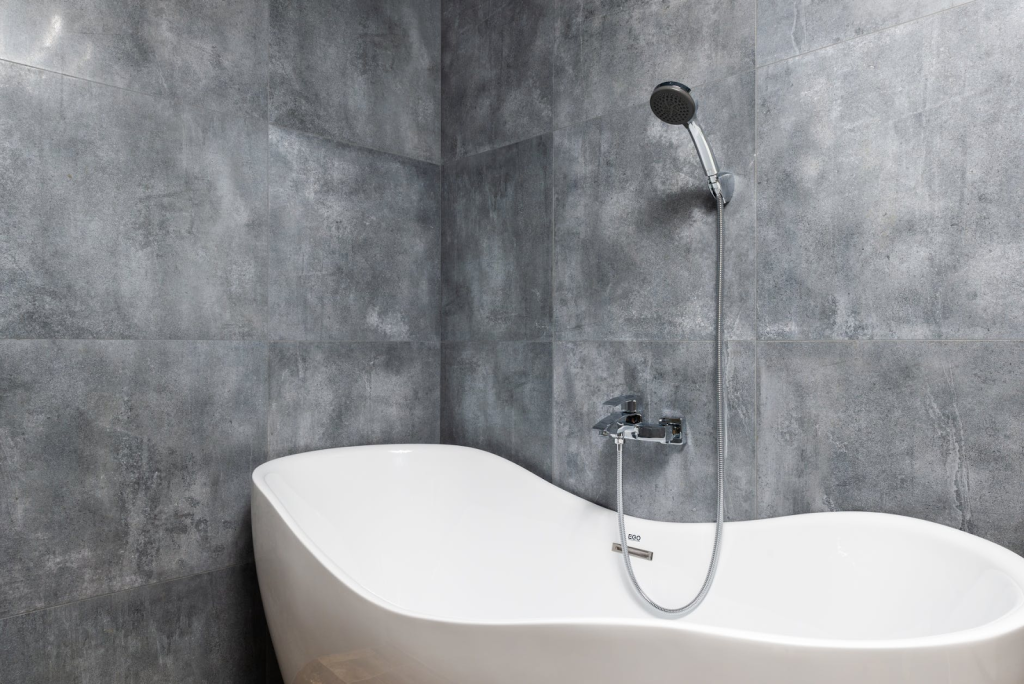
Step 2: Detach the Faucet and Drain
Next, detach the faucet and drain from the bathtub. This stops paint drips and stains on the metal. Removing these later can be very hard. Loosen them slightly before fully removing them. Some parts stick tightly to the tub. Removing the faucet and drain might crack or chip the tub material.
Step 3: Ensure Ventilation
When working with paint and it’s potentially harmful fumes, ensure adequate ventilation through natural and artificial means.Bathrooms often have small windows, so we strongly suggest opening the door and using an electric fan to lessen the fumes’ effect. This is a crucial step in bathtub painting, as good ventilation speeds up the material’s drying and hardening process.
Step 4: Prepare the Painting Area
Now,let’s prep your painting zone. We strongly advise taping off sections you don’t want painted. Lay down old newspapers to catch drips and prevent paint stains. Wholly cover the area to keep your floor tiles clean. clear the painting space of any clutter. Bathrooms are often smaller than other rooms in a house. Remove all fabrics from the bathroom. They easily absorb paint fumes.
Step 5: Etch the Entire Bathtub
Now, prepare the bathtub’s surface with an etching product like powder or cream. This removes the old topcoat or shine, allowing the new paint to stick properly. Make sure to cover all areas for a uniform paint job. Lightly etch until the glossy surface appears dull.
Step 6: Rinse the Tub
After etching the bathtub uniformly, remove all dust particles. Use a brush to scrub the surface thoroughly under running water. This ensures complete dust removal from the etched areas. Repeat this process until the water runs clear, free from any dust cloudiness.Once the water is clear, turn off the tap and allow the bathtub surface to dry completely. Air drying or using artificial methods are both effective, provided the surface is completely free of moisture. Natural ventilation may take one to two hours for complete drying. Therefore, we recommend using an electric fan or a blow dryer to speed up the drying time.
Step 7: Prime the Surface
Once the bathtub is fully dry, prime its surface.This improves paint adhesion. Apply an even primer coat, concealing any flaws. Priming a wet tub hinders paint adhesion. Thus, ensure the etched surface is completely dry. Select a primer compatible with your bathtub’s material, as primers vary. This also applies to your chosen paint. Let the primer dry thoroughly before painting.
Step 8: Applying Paint
Next comes the paint submission. Select your preferred tool: roller, spray gun, or paintbrush. For textured surfaces like bathtubs, a spray gun ensures an even paint layer. Avoid applying excessive paint. Let each coat dry before adding the next, potentially two or three coats. Allow a day or two for complete drying. Once dry, seal the paint with a topcoat to restore the glossy finish. This final drying stage requires extended time.
Step 9: drying the Bathtub
The final step involves drying. Topcoat drying requires more time than paint. Allow the bathtub to sit unused for one to two days. This ensures the topcoat properly adheres to the paint. Reattach the faucet and drain. Test the bathtub by running both cold and warm water.